Visit PromptOwl
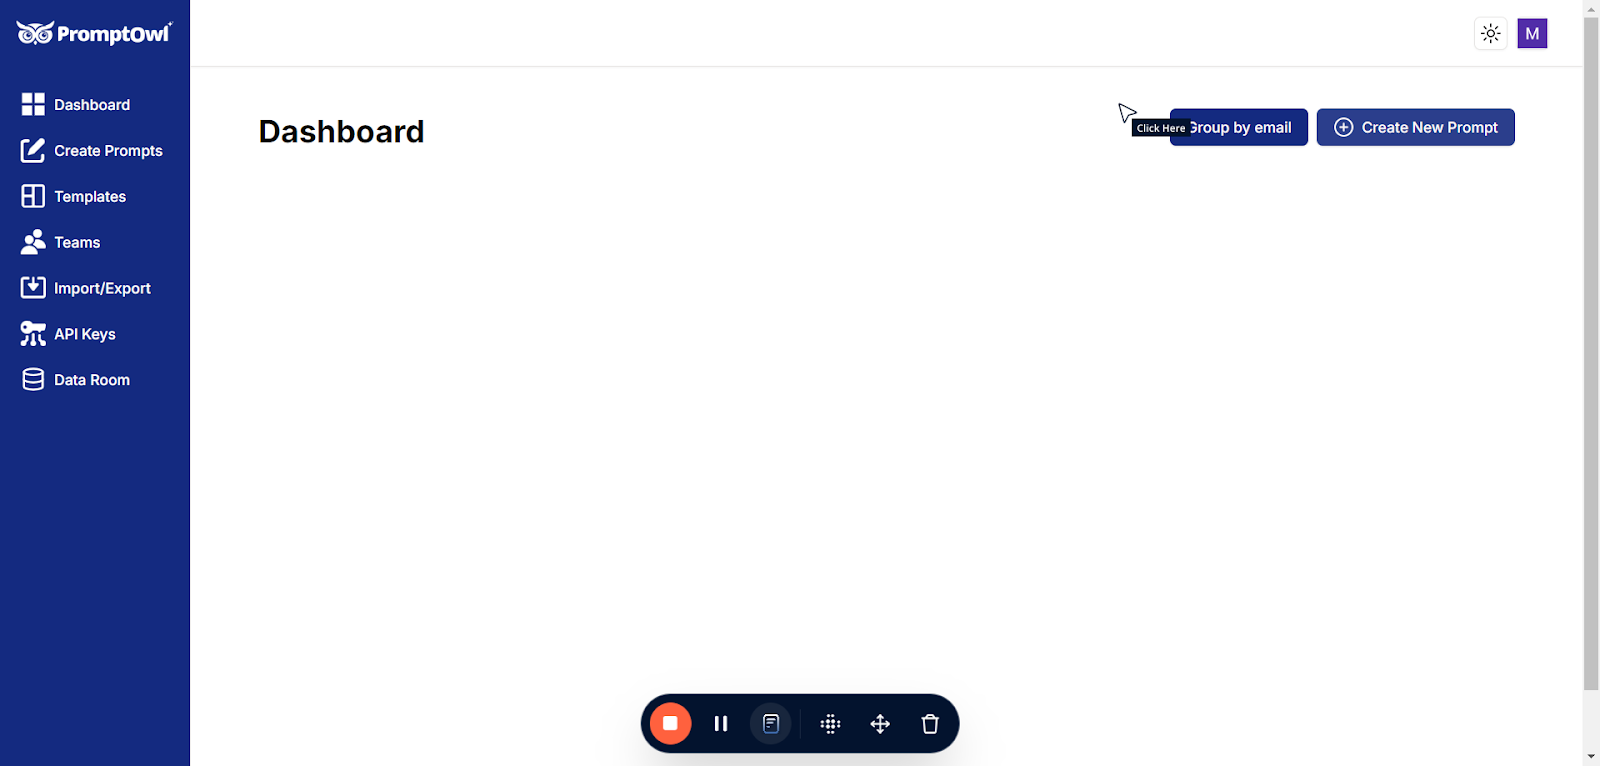
Start by creating your prompt:
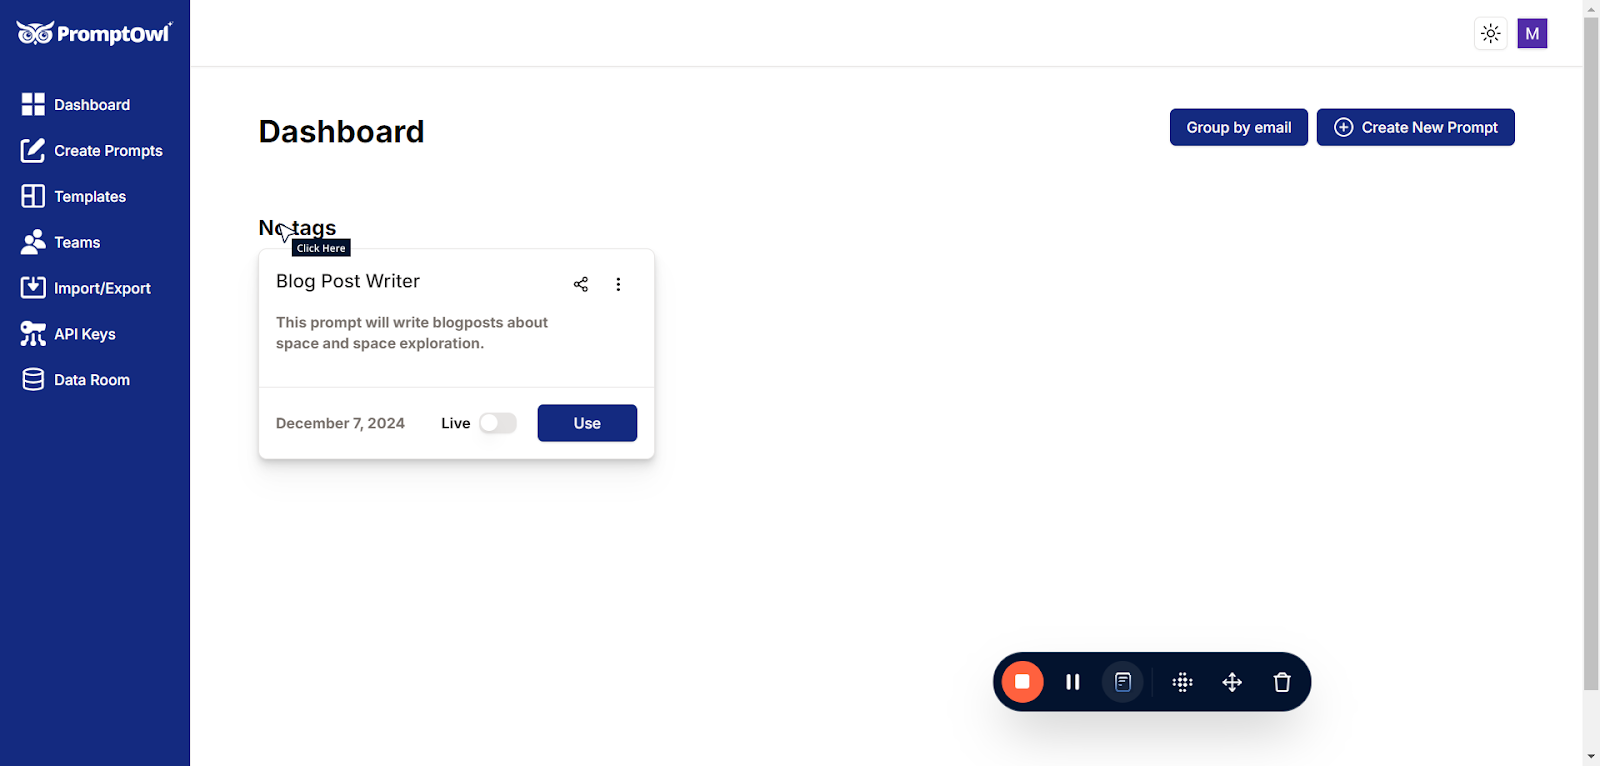
Click on “Create New Prompt”
Name your prompt
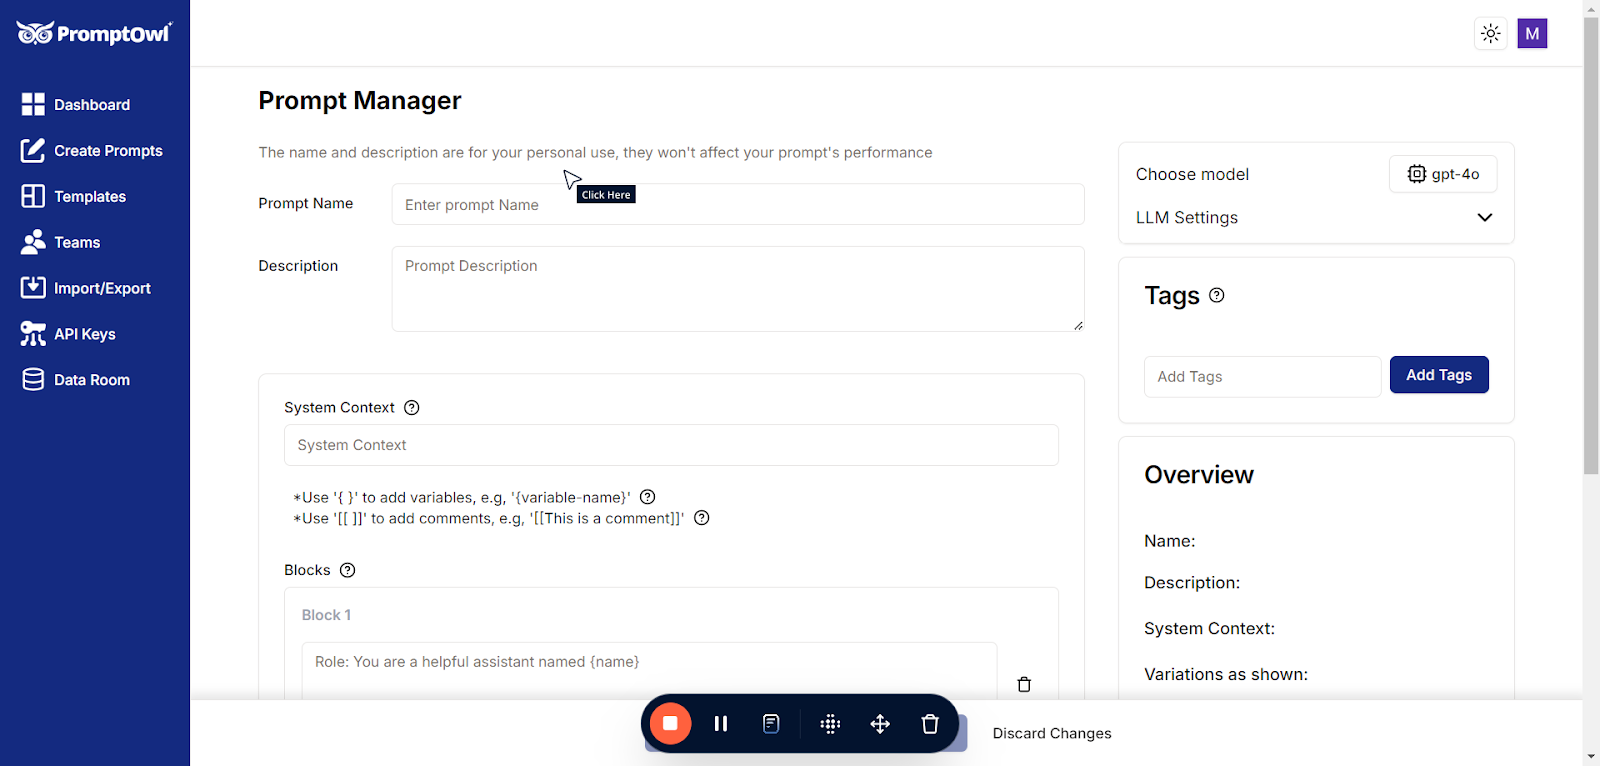
Type “Blog Post Writer”
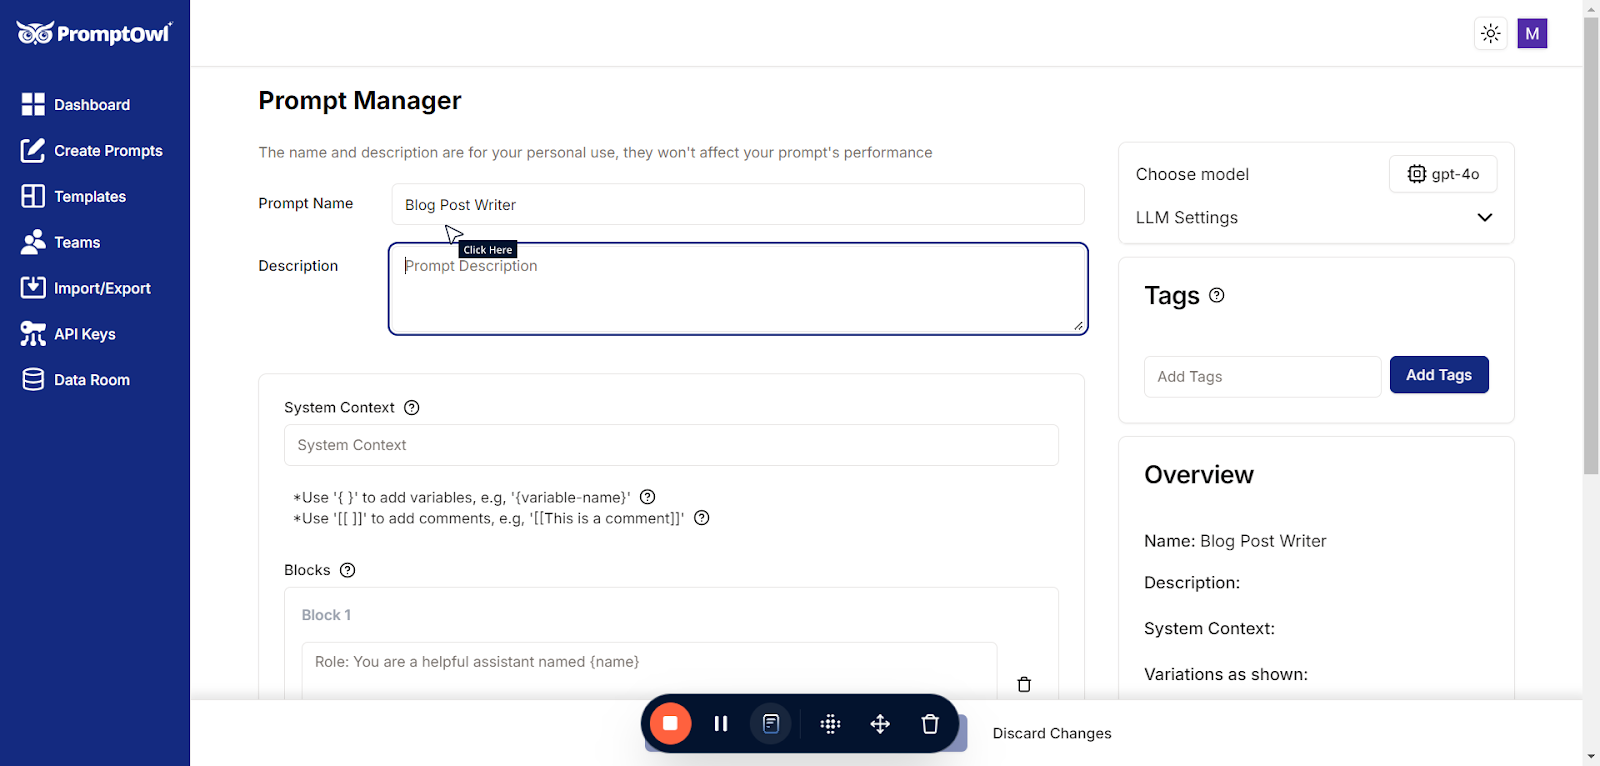
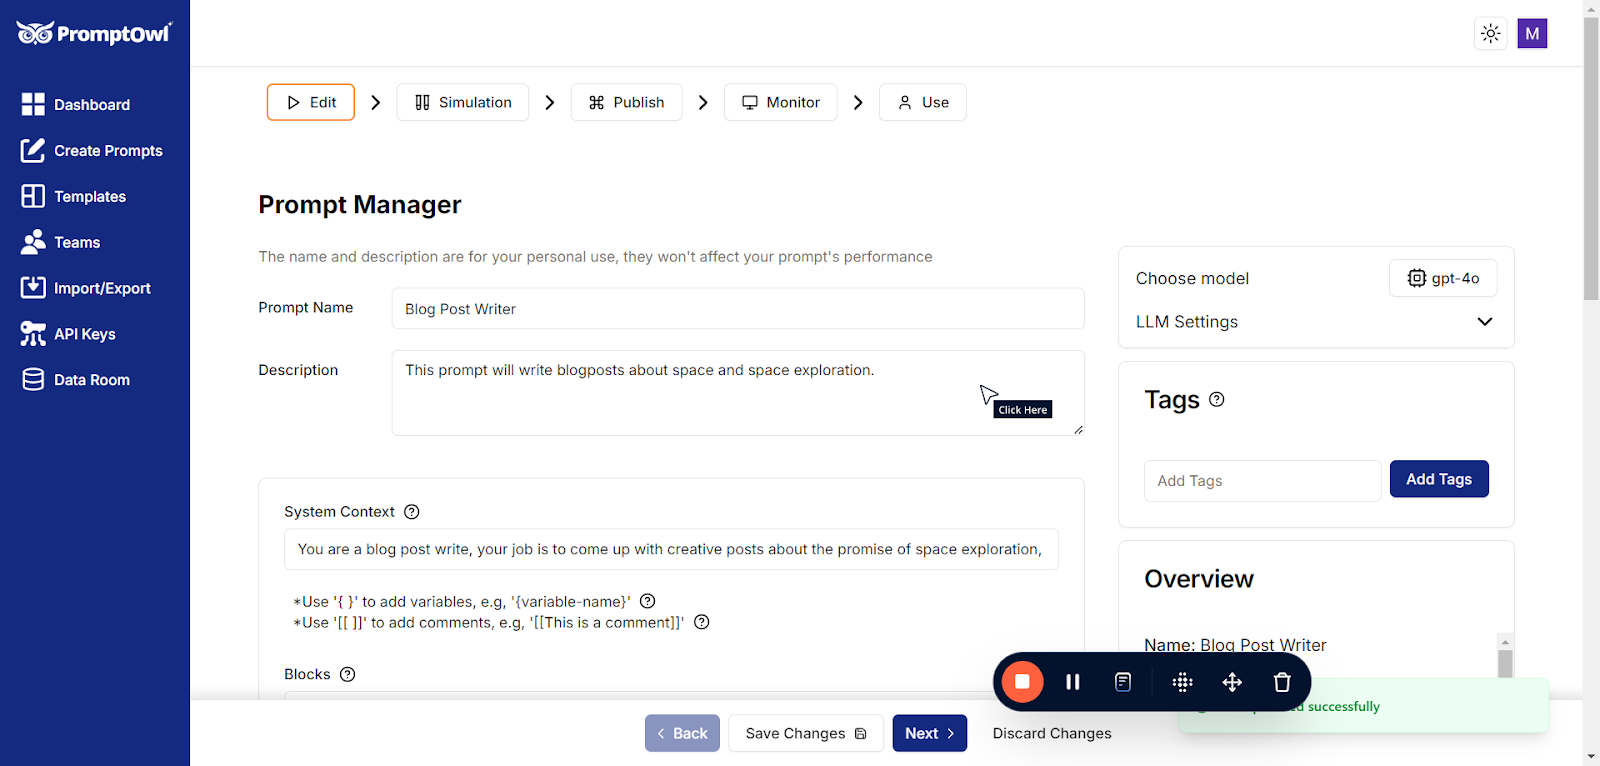
And add a description. This is not required and is not used by the AI, but is helpful for you and your team to be able to track the purpose of each prompt.
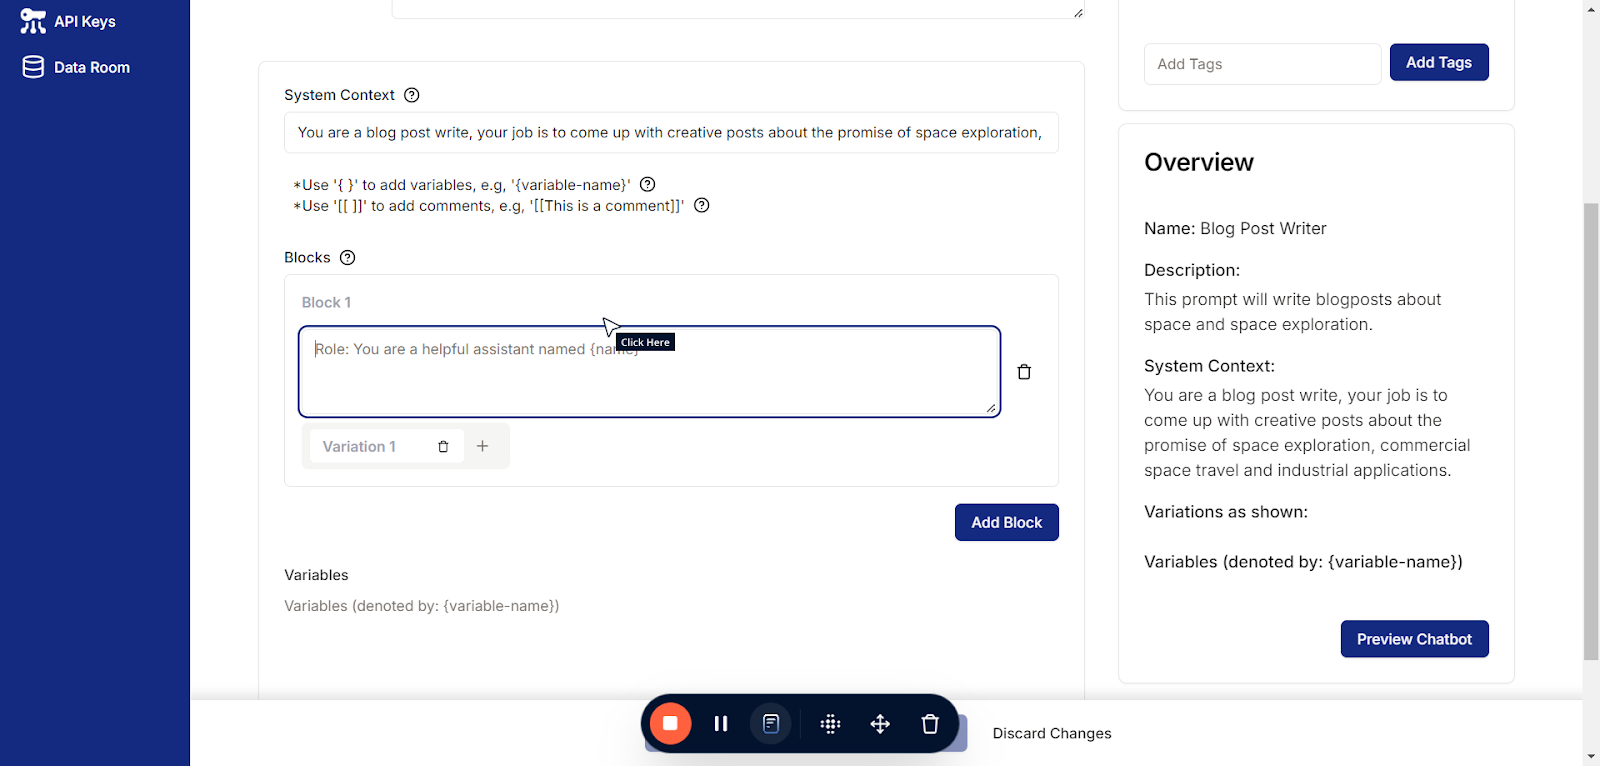
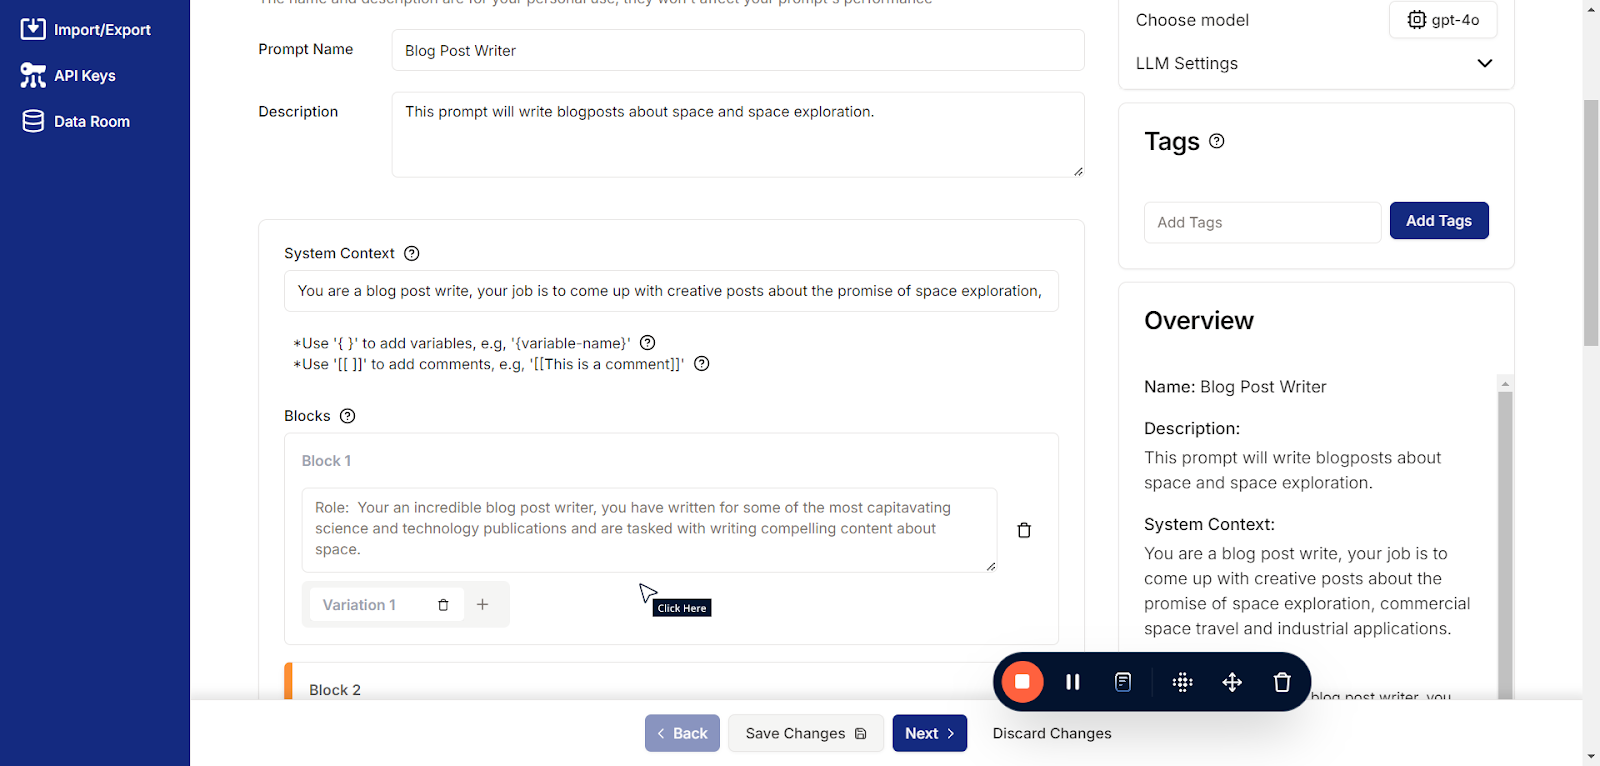
System context is required with MOST models and should capture the basic role and purpose.
The system message sets the general context and constraints for the model’s behavior, acting as a high-level instruction for how the model should approach every conversation. Think of it as the “job description” for the model.
How to Write an Effective System Message
- Keep it Short and General: Focus on the model’s role or perspective.
- Be Declarative: Specify the behavior in a single, clear sentence.
- Avoid Task-Specific Details: Leave those for the user message or subsequent instructions.
Example System Messages
- General Assistant"You are a helpful and knowledgeable assistant."
- Customer Support"You are a customer support agent for an e-commerce platform."
- Tutor"You are a patient and encouraging math tutor for high school students."
- Programming Helper"You are a coding assistant specialized in Python."
Key Difference Between System and Blocks
While the system message defines the high-level role (e.g., “You are a coding assistant”), the Blocks provides task-specific instructions (e.g., “Help me write a Python function to sort a list of numbers.”).
By keeping the system message simple and focusing on its role-setting purpose, you ensure consistency across interactions while leaving room for flexible and detailed user instructions.

Add your blocks. These can be very simple or can get rather complicated but it’s helpful to break them up so as to keep them organized and clean for maintainability.
Best Practices for Structuring Prompts into Blocks
- Start with a Clear Goal
Define the purpose of the prompt. Each block should serve a specific part of achieving this goal. - Use Descriptive Block Labels
Name your blocks to reflect their function (e.g., “Context,” “Instructions,” “Examples”). - Keep Blocks Modular
Design blocks that can be reused or updated independently. - Be Concise
Avoid overloading blocks with unnecessary details. Focus on what the model needs to know for accurate responses. - Iterate and Test
Continuously refine the blocks based on model performance and feedback. This is what the variations are for. - Incorporate Comments
Add inline comments to explain the purpose of each block for better collaboration and future updates.
Sample Frameworks for Prompt Blocks
1. CARE Framework (Context, Action, Result, Example)
This framework provides a balanced structure for most use cases.
- Context: High-level overview or relevant background.“You are a virtual assistant helping users plan travel itineraries.”
- Action: What the model should do.“Create a 7-day travel itinerary for a family visiting New York City.”
- Result: Desired output format.“Provide the itinerary as a bulleted list with each day labeled.”
- Example: A sample input-output pair (optional).“Input: ‘Plan a 3-day trip to Paris.’ Output: ‘Day 1: Eiffel Tower, Day 2: Louvre…’”
- Task-Oriented Blocks
Ideal for prompts aimed at specific actions.
- Role Assignment:“You are a financial analyst.”
- Objective:“Analyze the following stock data and provide insights.”
- Constraints:“Limit analysis to 200 words. Focus on trends over the past year.”
- Input:“Stock data: {‘AAPL’: { … }}”
- Output Formatting:“Provide insights in a numbered list.”
3. Scenario-Based Framework
Great for user-focused applications like customer support.
- User Profile:“The user is a beginner in coding.”
- Scenario:“They want to understand how to use loops in Python.”
- Action:“Explain loops with a simple example and an analogy.”
- Response Guidelines:“Keep it conversational and easy to understand.”
- Examples:“Example: ‘Imagine loops like a conveyor belt…’”
4. Question-Answer Blocks
For Q&A systems or interactive bots.
- Role:“You are a medical advisor.”
- Question Prompt:“What are the symptoms of flu?”
- Contextual Guidelines:“Do not provide a diagnosis. Include general information only.”
- Output Example:“Symptoms of flu include fever, fatigue, and cough. For more details, consult a doctor.”
5. Creative Content Framework
For generating stories, poems, or creative outputs.
- Tone:“Write a humorous and lighthearted tone.”
- Prompt:“Create a short story about a squirrel who becomes a detective.”
- Style:“Write in the style of a children’s book.”
- Constraints:“Limit the story to 300 words.”
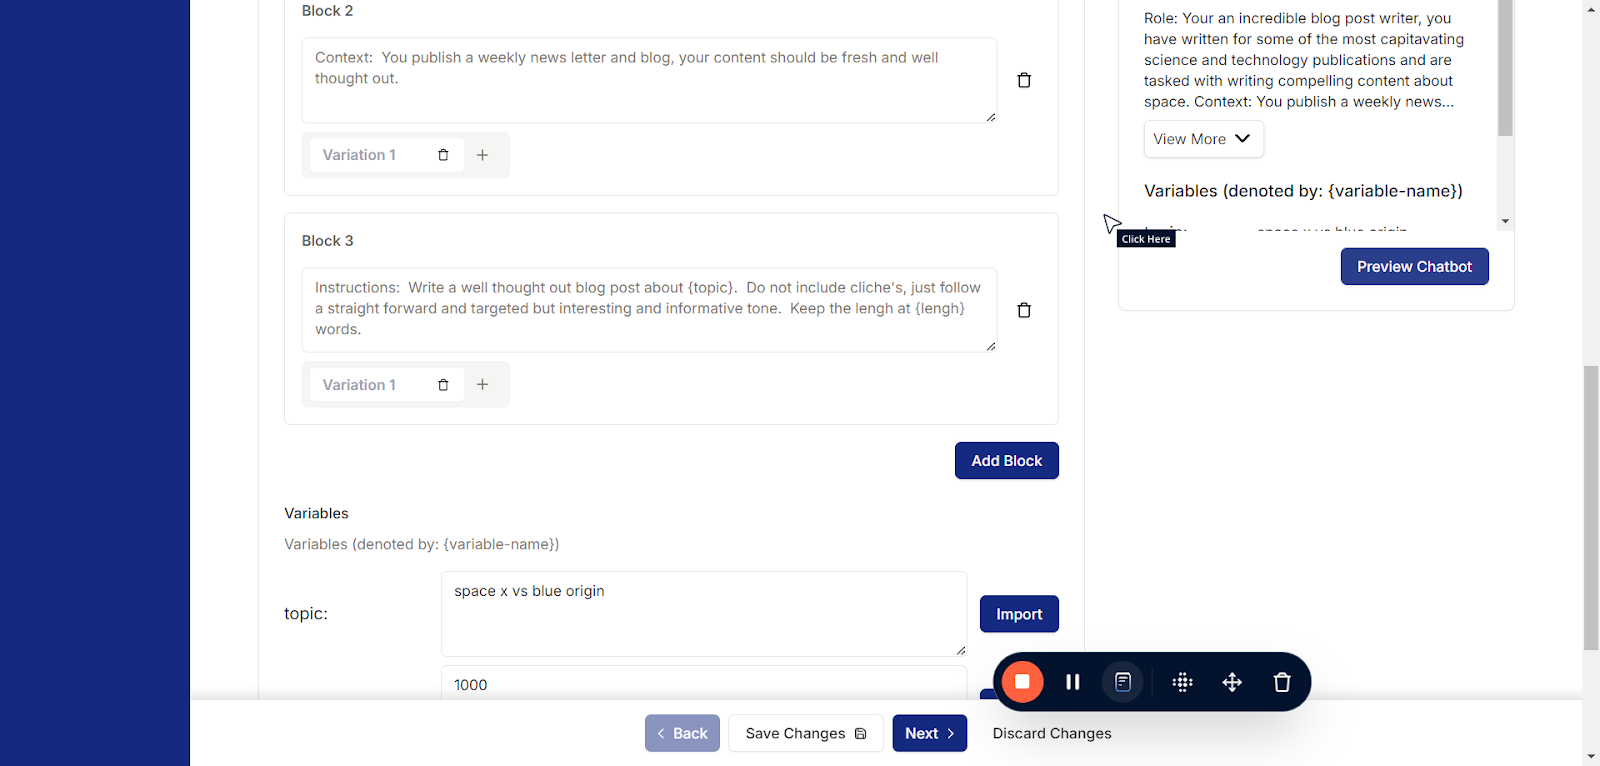
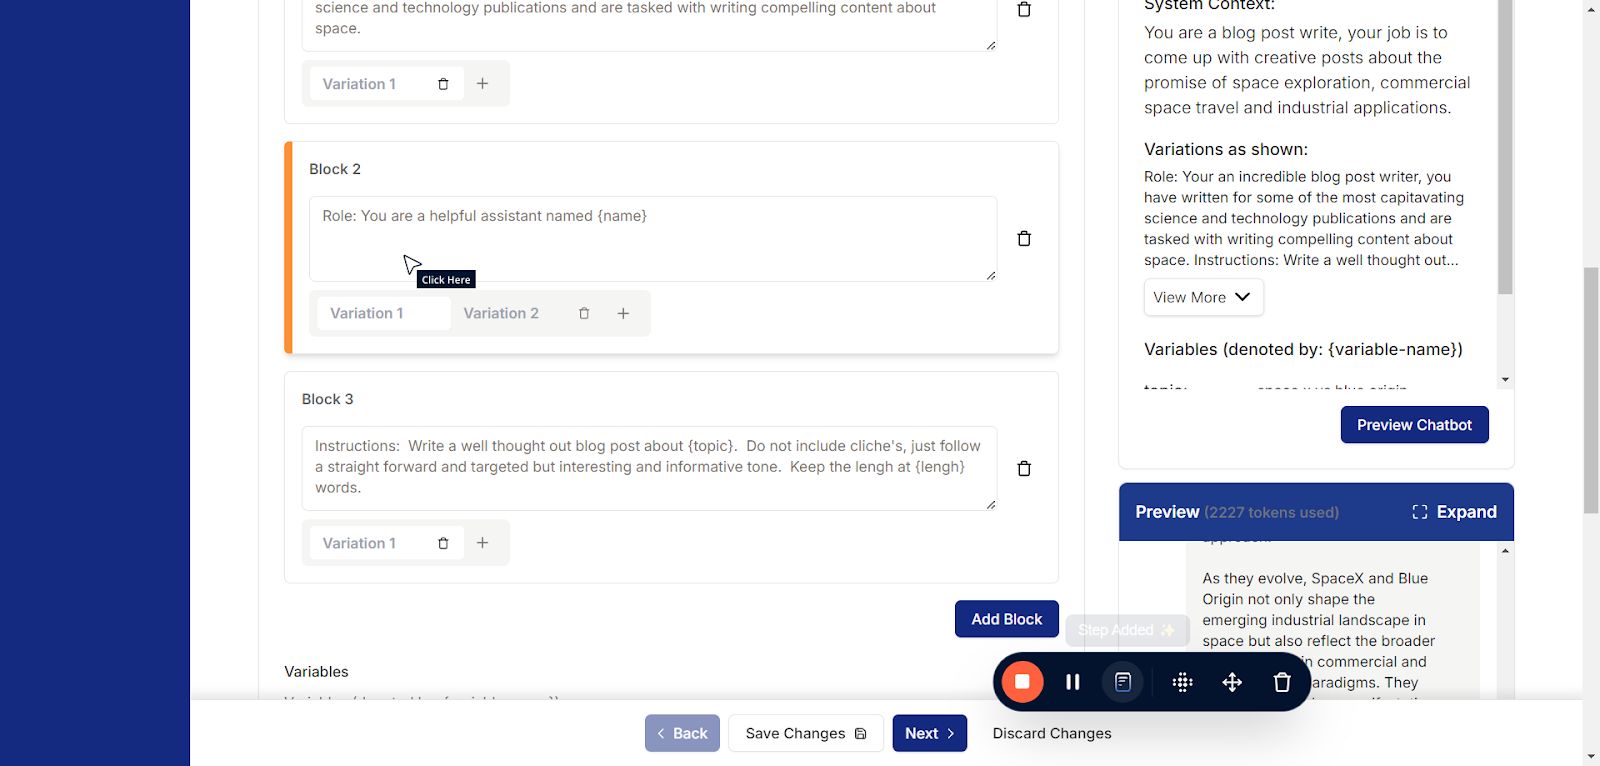
You must include at least one block in your prompt but can add as many as needed. To include comments, simply use text within [[ double brackets ]].
For our blog writer example, we’ll begin with a role block. This block will guide the LLM to write blog posts by providing context and background, helping the writer draw inspiration effectively.

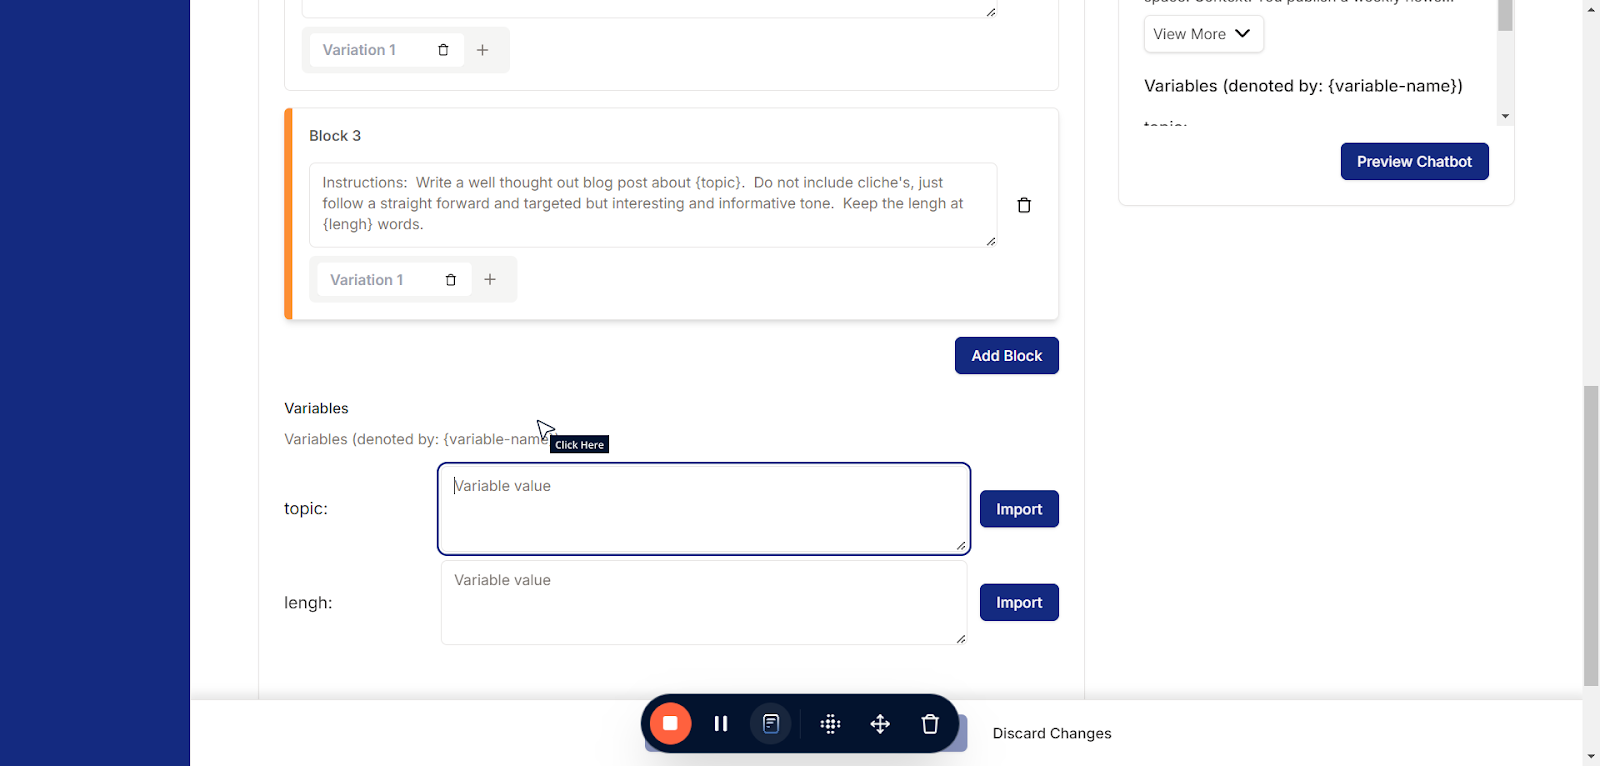
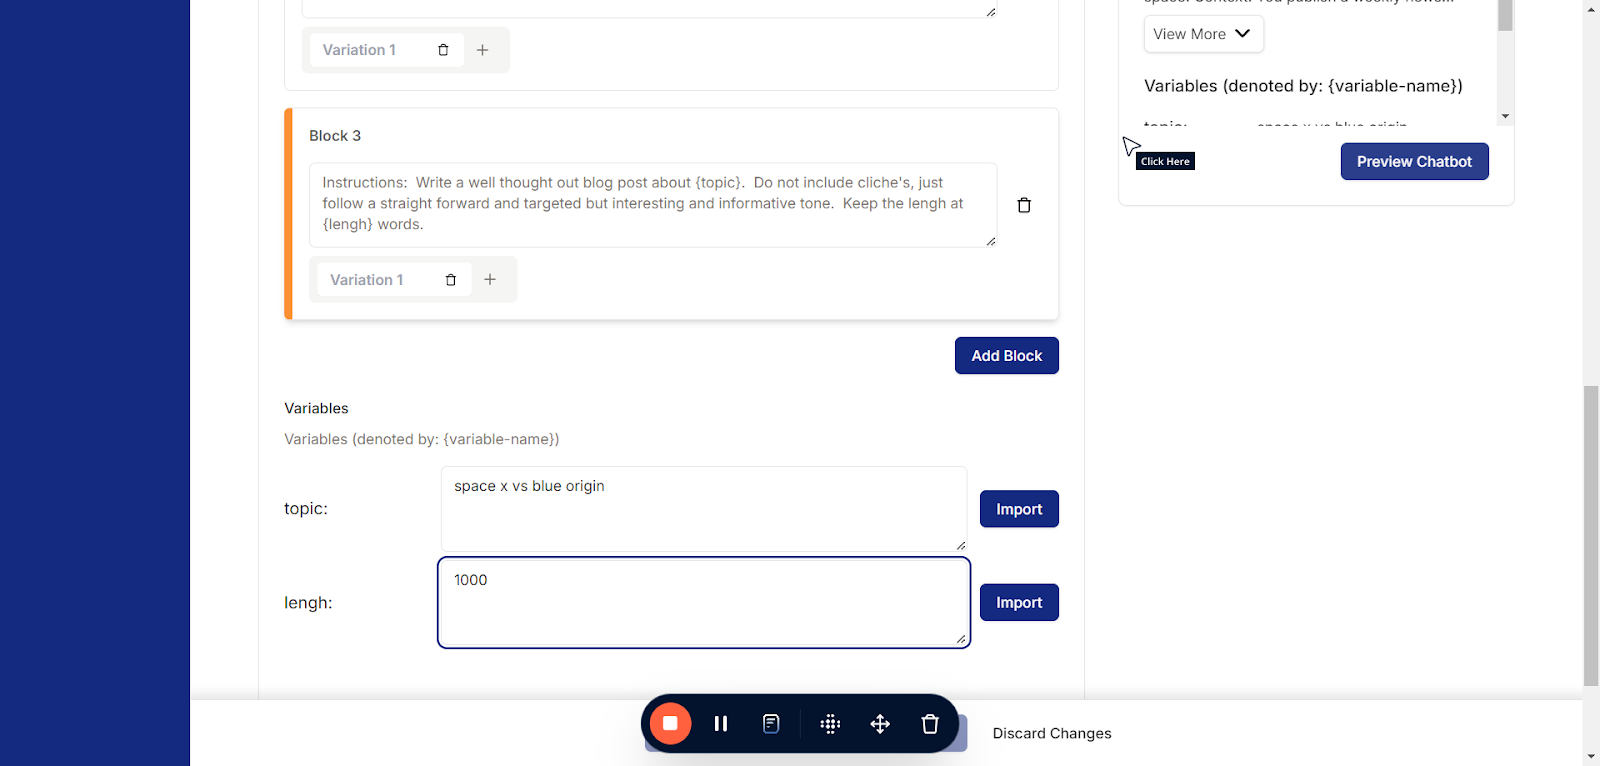
Using { curly braces } in your prompts creates a variable, unlocking a powerful feature in PromptOwl. Variables enable you to seamlessly integrate shared artifacts across multiple prompts, pass information dynamically through URL parameters after publishing, and much more. This functionality is one of PromptOwl’s key superpowers, offering unparalleled flexibility and efficiency in prompt design. As you create these in the prompt, a field will show up here under the last block.
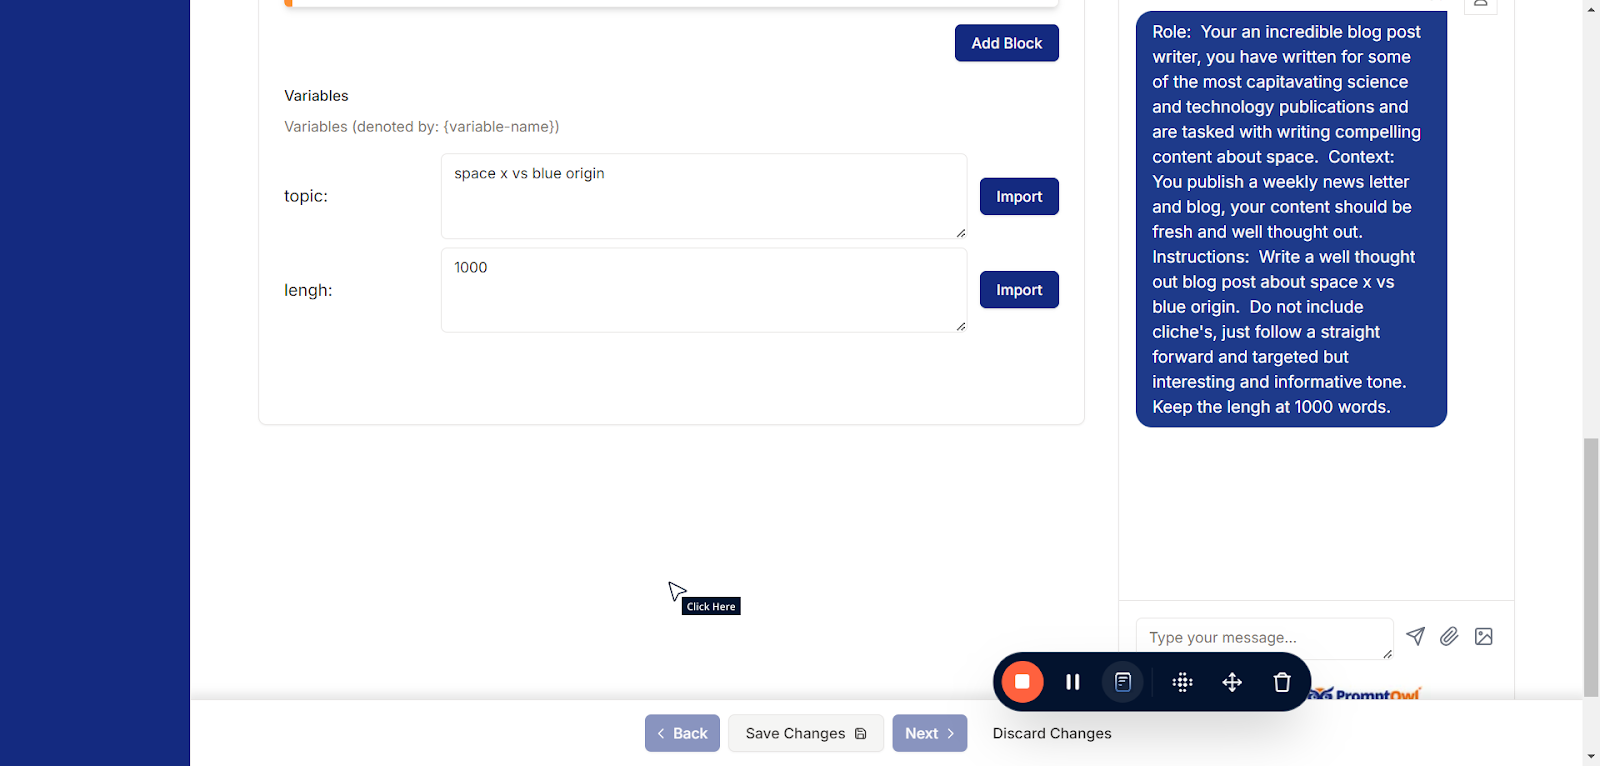
The Preview Chat button allows you to test and simulate your prompt in a real-time chat environment. When clicked, it opens a chat interface where you can see how the LLM responds to your inputs based on the current prompt configuration. This feature is invaluable for fine-tuning and troubleshooting your blocks, ensuring that the model behaves as expected before publishing or deploying your prompt. Use it to iterate quickly and refine your work with immediate feedback.
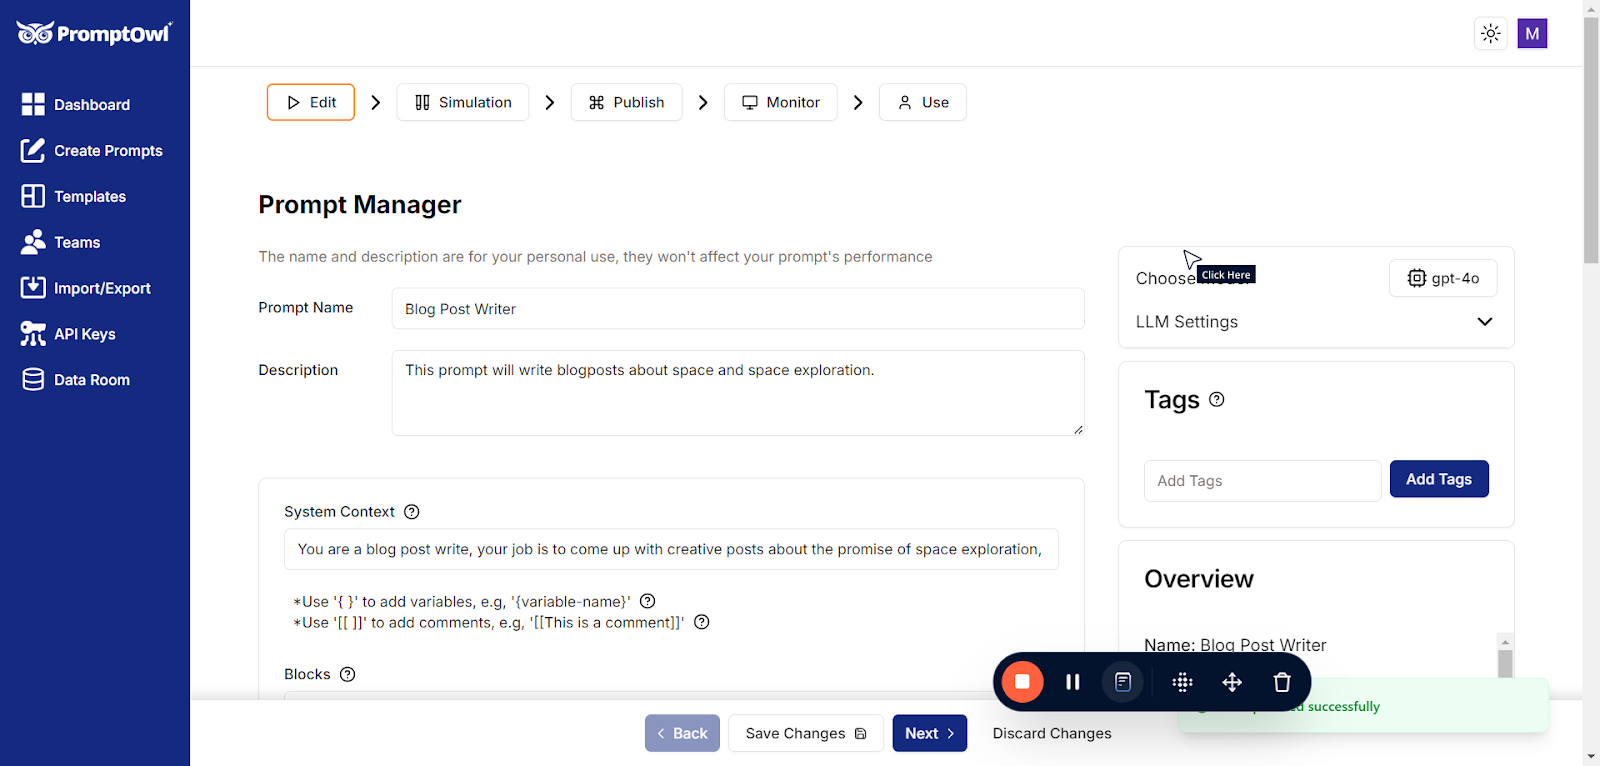
Prompts are not saved automatically. To ensure your changes are preserved, you must click Save Changes at the bottom of the screen. Make it a habit to save regularly to avoid losing your work.
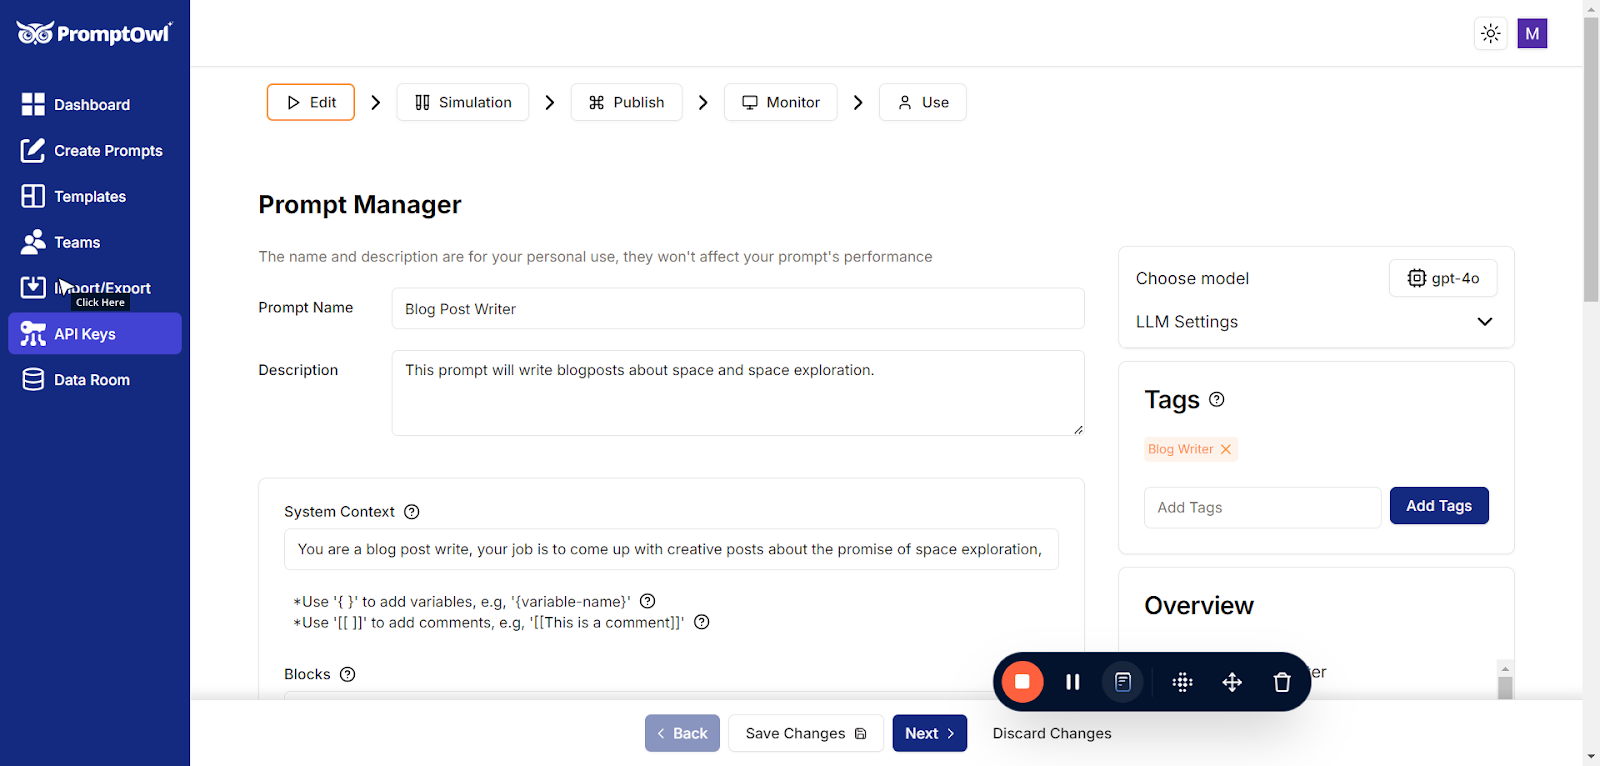
Tagging does not affect the performance or behavior of your prompts, but it plays a crucial role in keeping everything organized. By using tags, you can easily categorize and locate prompts, streamlining your workflow.
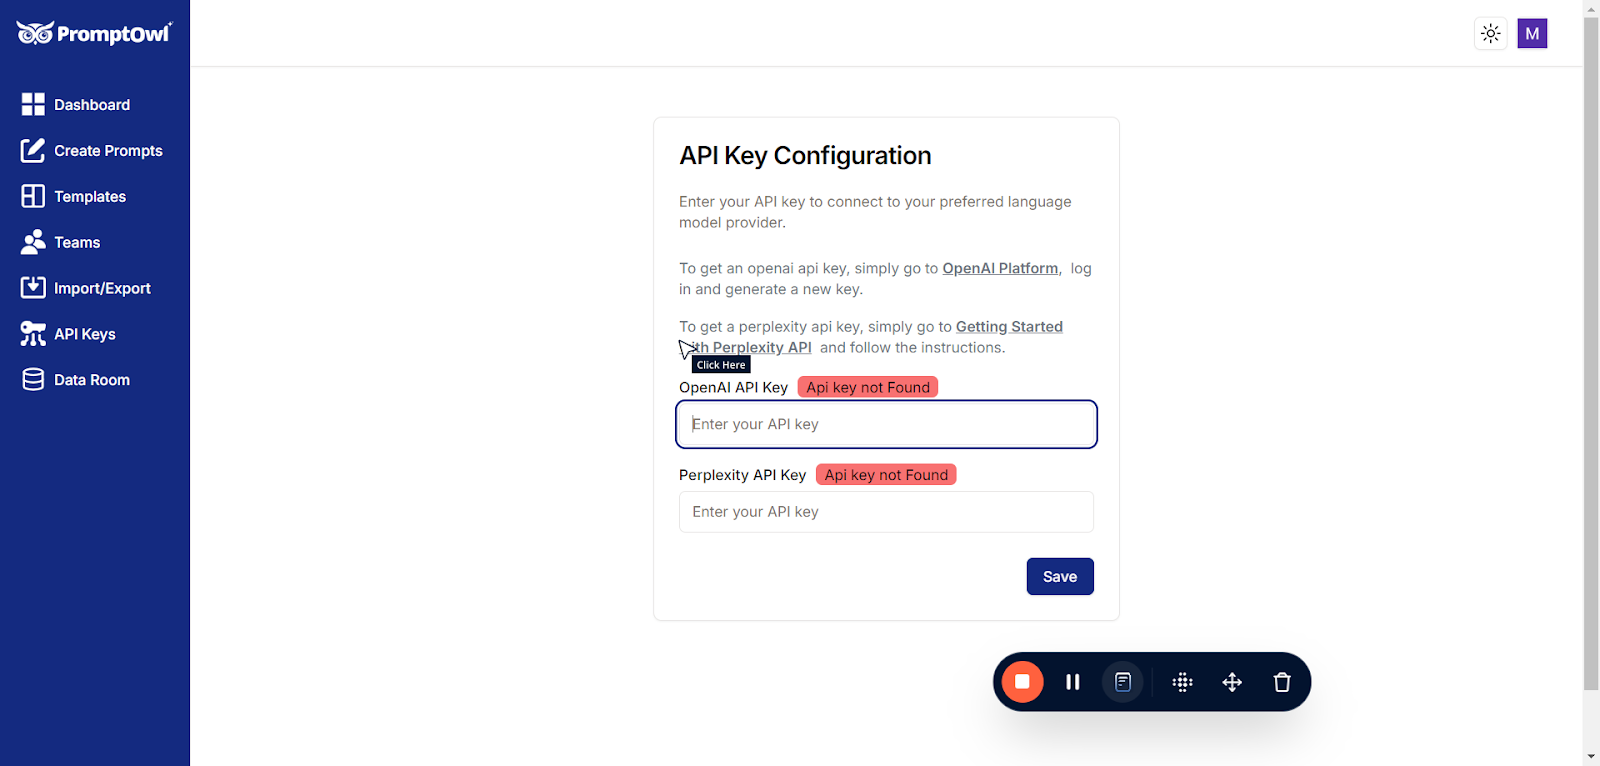
To use PromptOwl effectively, you’ll need to set up an API key. To get started, click on “API Keys” in the menu. If you haven’t entered an API key yet, you’ll need to add one. Here’s a simple explanation of what API keys are and how to set them up:
What is an API Key?
An API key is like a secret password that allows PromptOwl to connect to AI services, such as the ones powering the language models you’ll use. These keys give your prompts access to powerful AI models, enabling them to work their magic. Don’t worry—your keys are stored securely and can only be accessed by you.
How to Get an API Key
- Sign Up for an Account: You’ll need to create an account with one of the AI providers listed on the API Keys page (for example, OpenAI or Anthropic).
- Add Credits: These providers often charge for their services based on usage. You’ll need to add some credits or payment information to start using their models.
- Generate a Key: Once you’ve signed up, the provider will give you an API key. Copy this key and paste it into PromptOwl under the “API Keys” section.
Linked Resources
On the API Keys page, you’ll find helpful links to learn more about the available models and providers. These links make it easy to explore your options and decide which AI services best fit your needs.
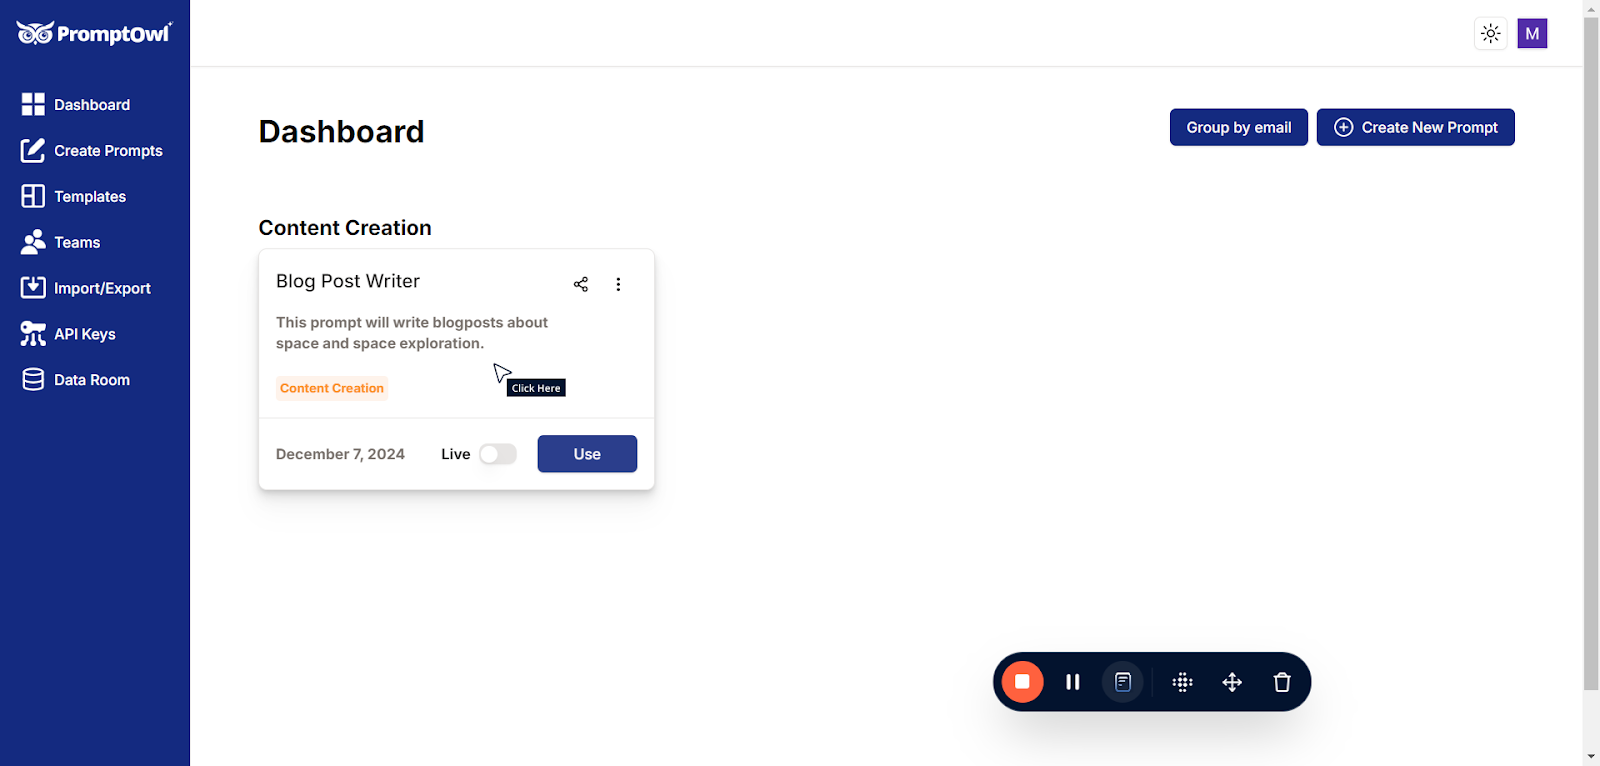
If you’ve saved your prompt, you can easily find it by navigating to the Dashboard. Simply click on “Dashboard” in the menu, and you’ll see a list of all your saved prompts.
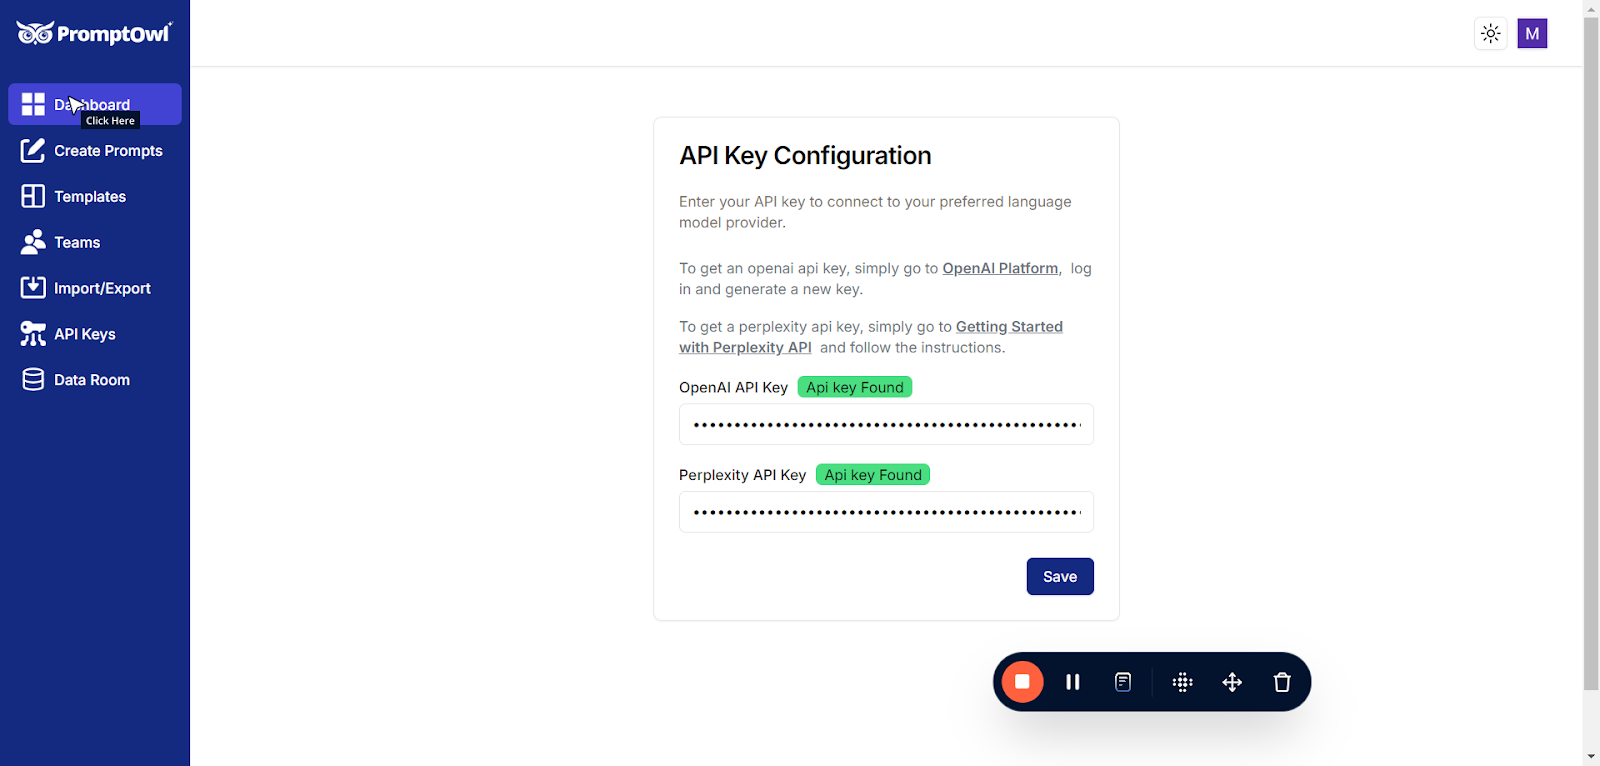
From there, you can open, edit, or manage them as needed.
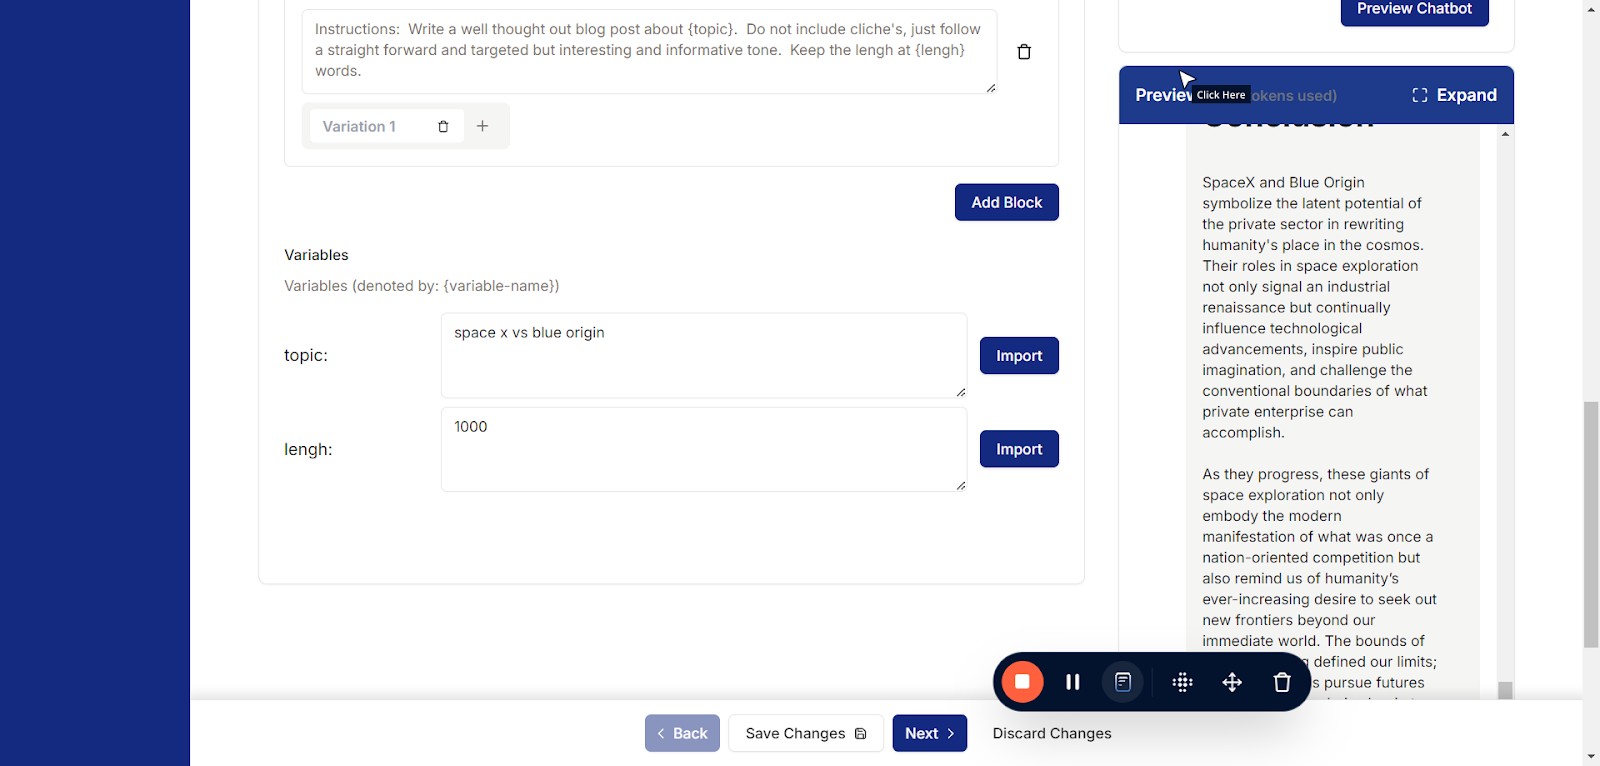
To see how the LLM responds to your prompt, click on “Preview Chatbot” while in the edit screen. This will open a real-time chat interface where you can test your prompt and evaluate the responses, helping you fine-tune its performance before publishing or deploying.
Click on “Expand” to widen the preview area, giving you more space to interact with the chatbot. This makes it easier to review responses, test interactions, and adjust your prompts more effectively.
You can chat with the bot just like you would with any GPT-based system. Remember, it follows all the instructions you included in your prompt and will behave exactly as you’ve designed it to. This is a great way to test and see how your prompt influences the bot’s responses in real-time.
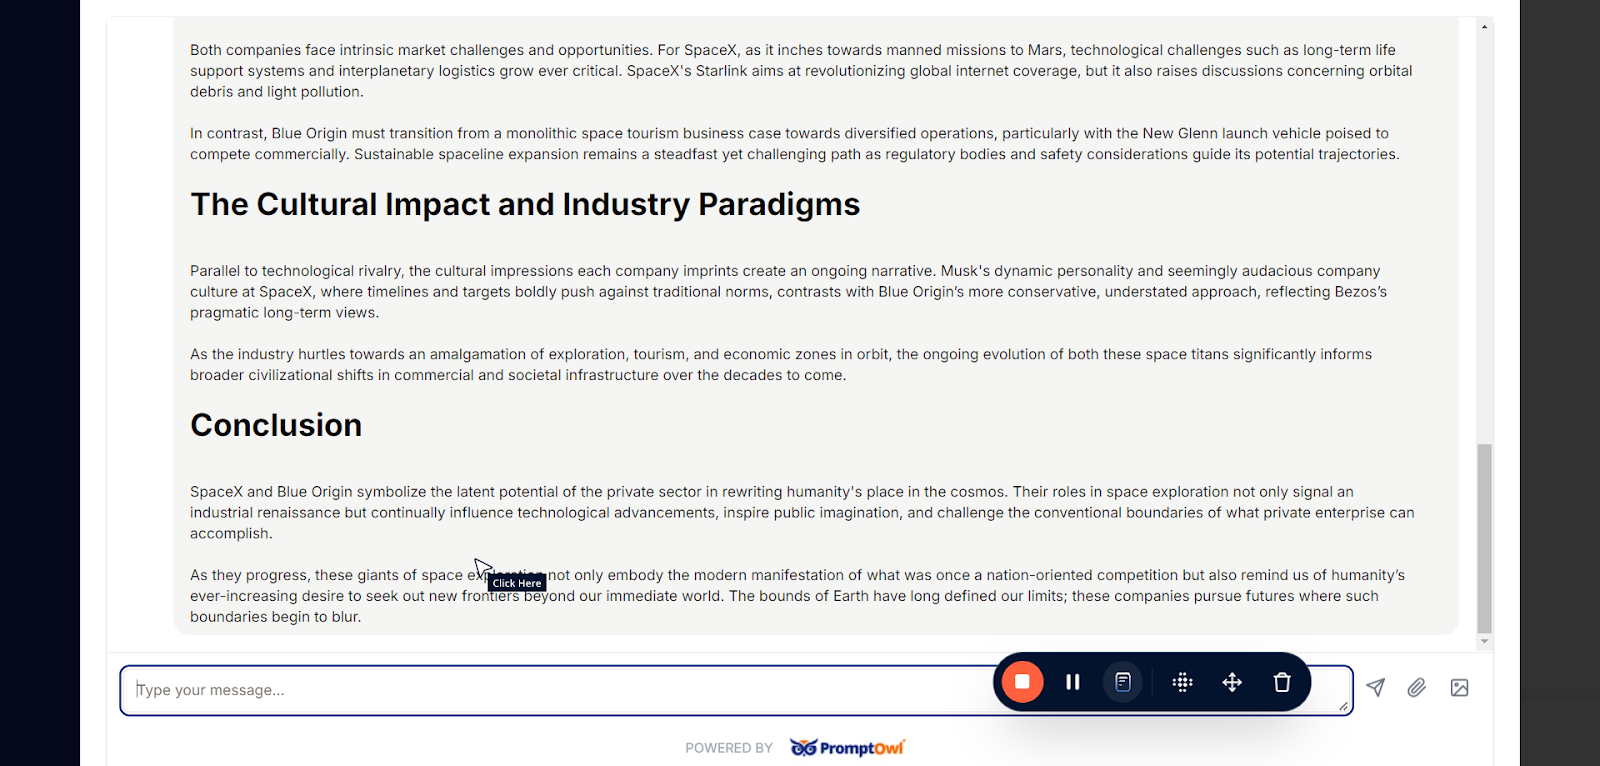
This is an excellent space to test tweaks to your prompt and observe how they affect the chatbot’s responses. It allows you to refine and optimize your prompt for the best results.
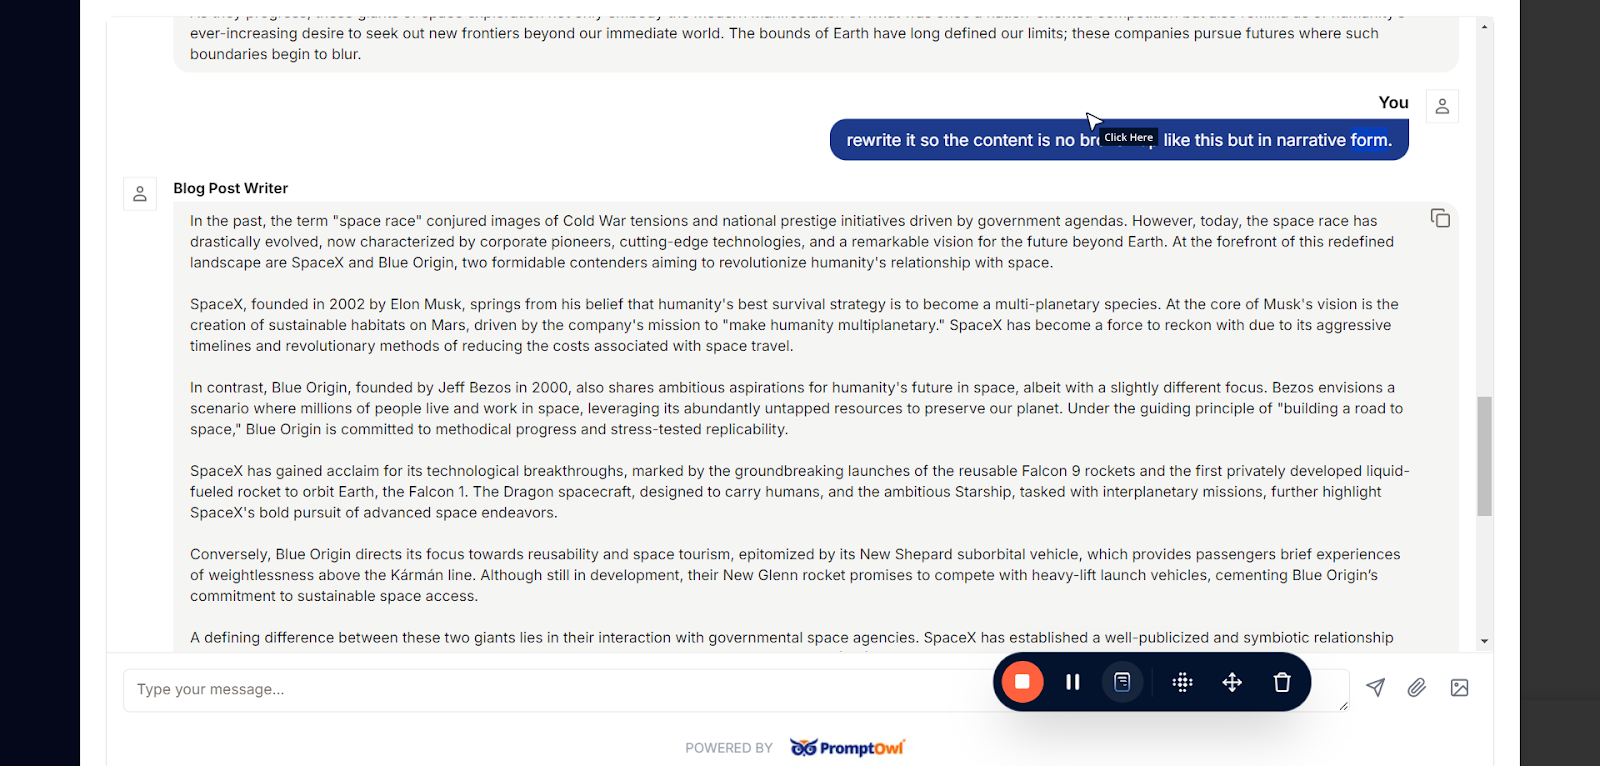
If you find language that improves the response, add it into your prompt as a new variation instead of changing the original prompt. Variations let you test different approaches side by side. Only one variation is used at a time, but this allows you to compare how changes affect the chatbot’s behavior and find the best results.

Whatever variation you select will be used in the prompt, but your previous variations will remain saved for future testing. This approach is a core feature of prompt engineering and testing in PromptOwl, allowing you to compare and refine prompts over time to achieve the best results.
Remember to “Save Changes”
PromptOwl is LLM-agnostic, meaning you can use any supported model within the platform. You also have the ability to tweak the model’s parameters, such as temperature and token limits, to adjust the LLM’s behavior and tailor its responses to your specific needs. This flexibility ensures you can optimize prompts for a wide range of use cases.
You can also tweak the model parameters to fine-tune how the LLM behaves and generates responses. In OpenAI models, key parameters include:
1. Temperature
- What it does: Controls the randomness of the responses.
- Low values (e.g., 0.1): Produce more focused and deterministic outputs, ideal for tasks requiring precise answers.
- High values (e.g., 0.8): Make responses more creative and diverse, but potentially less consistent.
2. Top-p (Nucleus Sampling)
- What it does: Determines the probability mass for token sampling.
- Low values (e.g., 0.1): Limit token selection to the most likely options, making responses more predictable.
- High values (e.g., 0.9): Allow for more variability and creativity in responses.
3. Max Tokens
-
What it does: Sets the maximum length of the response in tokens (a “token” is a word fragment or punctuation mark).
-
How to use it: Adjust based on your task. For example:
-
Short responses: Use lower limits (e.g., 50).
-
Detailed answers: Use higher limits (e.g., 200-1000).
4. Frequency Penalty
- What it does: Reduces the likelihood of repeating phrases in the response.
- Low values (e.g., 0): No penalty, allowing repetition.
- High values (e.g., 2): Discourage repeated content, useful for generating unique outputs.
5. Presence Penalty
- What it does: Encourages or discourages including new topics in the response.
- Low values (e.g., 0): Neutral, sticking closely to the input.
- High values (e.g., 2): Pushes the model to explore new ideas or topics.
By experimenting with these parameters in PromptOwl, you can customize the model’s behavior to suit your specific needs, whether you’re optimizing for accuracy, creativity, or brevity.
Congratulations! Building a prompt is that simple. You can now use your prompt for your specific needs. While there’s a whole world of advanced features and possibilities in PromptOwl, this process forms the basic foundation for everything else you can do. Great job!